“Moldex3D: From Concept to Production” serves as a comprehensive guide to utilizing Moldex3D’s suite of tools for plastic injection molding simulation. Moldex3D is renowned for its advanced capabilities in simulating the molding process, predicting potential defects, and optimizing design before production. Here’s an overview of the essential steps covered in the guide:
1. Conceptual Design
• Initial Design and CAD Modeling: Start with creating the basic geometry of the part using CAD software. Moldex3D supports various CAD formats, ensuring seamless integration.
• Material Selection: Choose appropriate materials considering properties such as melt flow index, thermal conductivity, and mechanical strength.
2. Pre-Processing
• Mesh Generation: Convert the CAD model into a finite element mesh. High-quality meshing is crucial for accurate simulation results.
• Setting Process Conditions: Define processing parameters like injection pressure, temperature, and cooling time.
3. Simulation Analysis
• Filling Analysis: Simulate the flow of molten plastic into the mold cavity. This helps in identifying issues like short shots, weld lines, and air traps.
• Packing and Holding Analysis: Evaluate the pressure distribution to ensure the part is packed properly to avoid sink marks and warpage.
• Cooling Analysis: Simulate the cooling phase to predict cycle times and potential thermal-related defects.
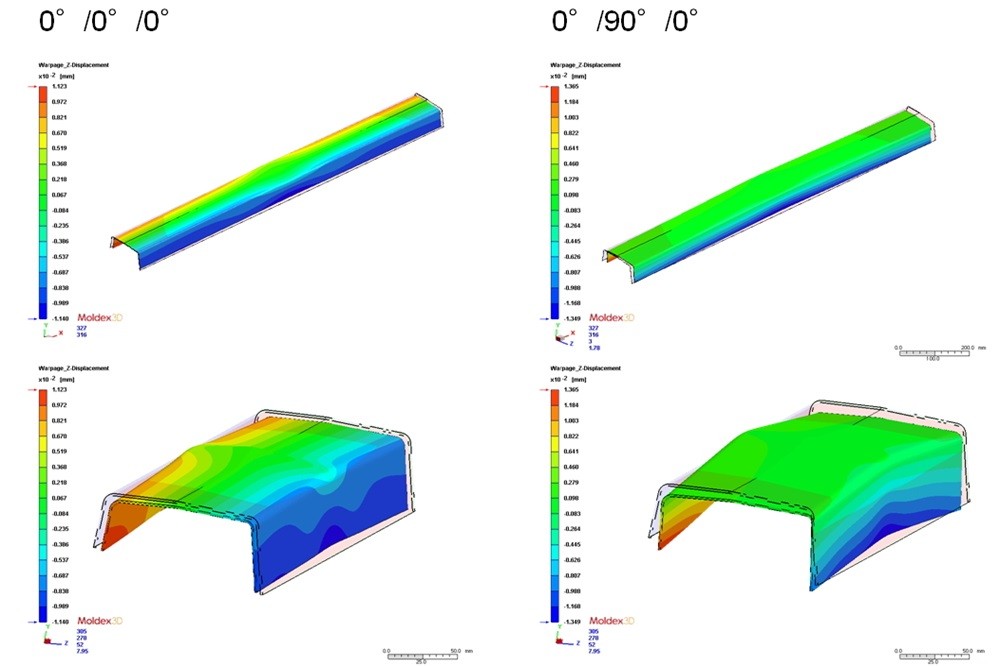
• Warpage Analysis: Analyze potential deformation due to internal stresses, ensuring the part meets dimensional specifications.
4. Optimization
• Process Optimization: Adjust process parameters to minimize defects and optimize cycle time.
• Design Optimization: Modify part and mold designs based on simulation results to improve manufacturability and performance.
5. Validation and Verification
• Prototyping: Create prototypes using 3D printing or other rapid prototyping methods to validate the design.
• Physical Testing: Conduct tests on prototypes to compare with simulation results and further refine the model.
6. Production Preparation
• Mold Design: Finalize the mold design, including gating system, cooling channels, and ejection mechanisms.
• Manufacturing Setup: Prepare for production by setting up injection molding machines and ensuring all parameters are correctly configured.
7. Post-Processing and Quality Control
• Quality Inspection: Perform inspections using techniques like CMM (Coordinate Measuring Machine) to ensure parts meet specifications.
• Production Monitoring: Use real-time monitoring systems to maintain consistent quality and identify any deviations quickly.
Benefits of Using Moldex3D:
• Reduced Time-to-Market: By identifying and addressing potential issues early, production delays are minimized.
• Cost Savings: Reducing the need for physical trials and errors lowers production costs.
• Improved Product Quality: Enhanced accuracy in predicting defects leads to higher quality end products.
• Increased Efficiency: Optimized processes and designs contribute to more efficient manufacturing operations.
This guide underscores Moldex3D’s role in transforming conceptual designs into high-quality production parts, emphasizing the importance of simulation in modern manufacturing.